The Top 8 Techniques For Piriformis Release
The piriformis muscle (included with 5 other muscles) is an external rotator of the hip. It connects the sacrum to the femur bone (thigh) and is often associated with a variety of lower back, sacroiliac, and hip issues.
If during an assessment excessive posterior pelvic tilt, sacroiliac joint region pain, sciatica-type symptoms, IT band issues, or flexibility issues of the hip are found, piriformis massage may be indicated.
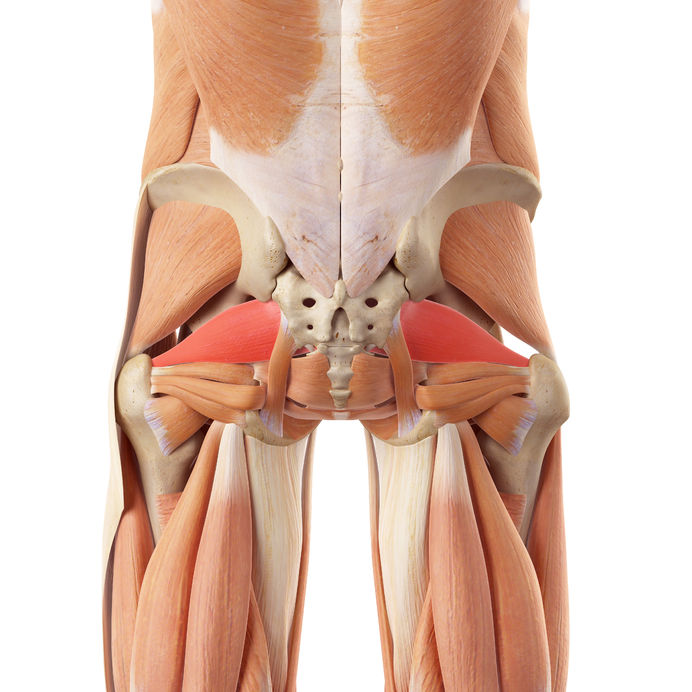
How to know if you need to release your piriformis:
- Lower back pain
- Sacroiliac joint pain
- Sciatica
- Hip pain
- Posterior pelvic tilt
- Pelvic pain
- Piriformis syndrome
Piriformis Muscle Anatomy And Function
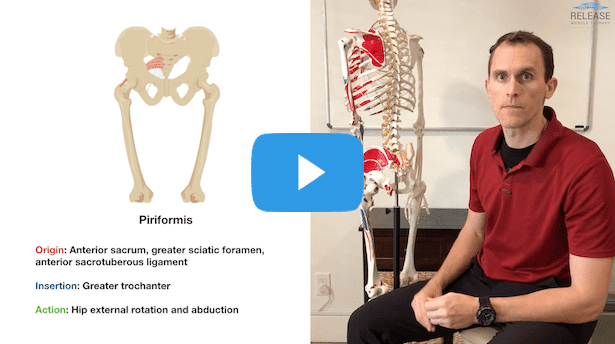
Origin: Anterior surface of the sacrum
Insertion: Greater trochanter of the femur
Function/s: Hip external rotation, abduction, and extension
Functional action: Decelerate internal hip rotation, adduction, and flexion
Innervation: Sciatic nerve
Piriformis Trigger Points
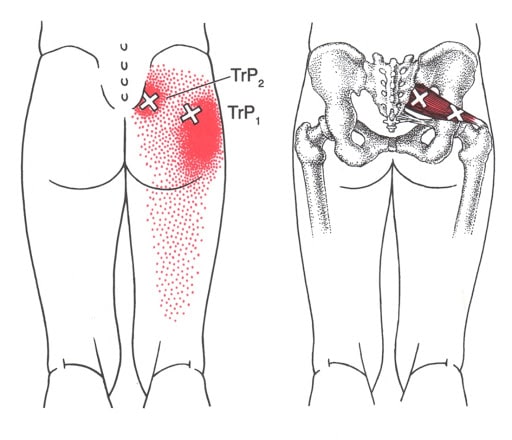
Piriformis trigger points are very common and relatively easy to locate. These sensitive points are capable of referring pain down the backside of the leg. Due to this phenomenon, trigger point activity may be mistaken for symptoms of sciatica.
It is important to note, the concept of trigger points and their relationship to pain is a point of high debate. Regardless, it appears helpful to address these sensitive areas with trigger point piriformis release techniques, at least for temporary relief.
Specifically, piriformis trigger point release can be attained by using simple neuromuscular techniques such as positional release technique, ischemic compression, or muscle energy techniques.
Top Tips For Dealing With Piriformis Pain
-
Avoid crossing your legs and generally sitting with your knees too close together -
Avoid excessive aggressive stretching of the piriformis -
Intense strength training exercises that fatigue the already painful and sensitive tissues -
Emphasize placing the affected side leg into external rotation to allow the muscle to passively shorten and relax (see below) -
Use a cane or walking sticks temporarily to assist if painful to walk -
Use passive therapies such as heat or ice, pain relief creams, or TENS to calm down nerves and promote circulation -
Strengthen the other gluteal muscles and reduce over-activity of antagonist muscles
Best Reviewed Foam Cushion For Piriformis Relief
#1 Piriformis Relief Position
When piriformis pain is just too aggravated and sensitive to stretch or exercise, sometimes the best thing to do is simply get into a position of relief.
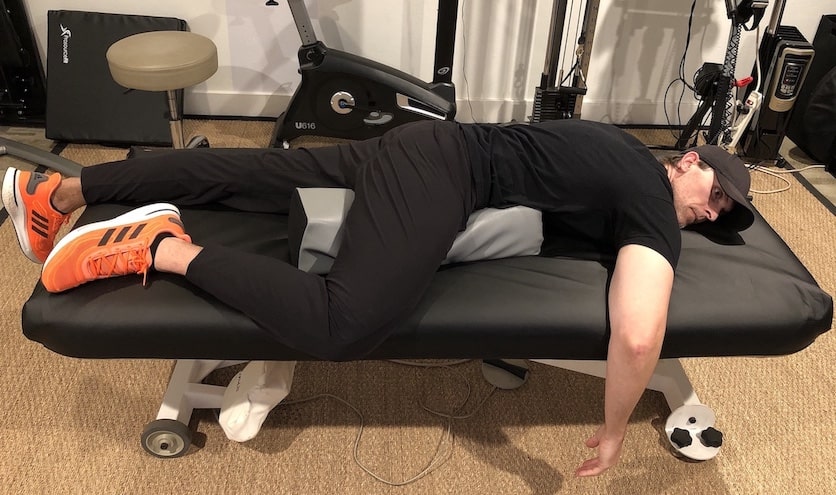
One of the best ways to do this is by laying face down and placing the affected leg out to the side. This position allows the piriformis muscle to shorten, which can help relieve tension and allow it to calm down.
A small pillow can be placed under the hip to reduce lower back discomfort and allow a better position of rest. Usually 3-5 minutes is sufficient to allow a reduction in excess muscle tone, but it can be done for much longer if desired.
Left vs Right Side Piriformis Pain
#2 Piriformis Muscle Massage Therapy
The piriformis muscle lies under the larger, more superficial glute muscles, so it can be challenging to directly reach with deep tissue massage work until those layers are relaxed.
This muscle is responsive to more gentle approaches, and does not need overly aggressive pressure to get results. Piriformis muscle massage is effective even with simple glides with thumbs or the elbow.
The fibers of this muscle connect to the anterior (front) surface of the sacrum bone, so they can challenging to fully address, which is why a combination of deep tissue massage for the piriformis and stretching work is often indicated for best results.
Piriformis Syndrome Massage Notes + Caution
Massage is often indicated for piriformis syndrome, and it can indeed be helpful, but I highly recommend it is done with low pressure.
Since the muscle is already aggravated, excessive intensity when treating this muscle can further increase sensitivity, pain, and guarding.
Piriformis syndrome massage requires a gentle, graded exposure approach in order to achieve the goal of restoring normal health and function to the area.
Since the intensity is generally low, it may be necessary to follow up with exercises and stretches to the get the piriformis muscle release to “stick” after the therapy session.
#3 Stretches For Piriformis – Version 1
The piriformis is an external rotator of the hip, but because of its location and hip mechanics, there are 2 different approaches to stretching the muscle. In this first version, the emphasis is on adduction and hip flexion, which allows for release of the more superficial muscles and some of the external hip rotators.
#4 Stretches For Piriformis – Version 2
This second stretch version can directly hit the piriformis and is generally performed AFTER the first variation. A combination of varying hip positions with external rotation will get most of the deep hip muscles stretched.
#5 Piriformis Release – Post Isometric Relaxation
Post-isometric relaxation works very well for the hip muscles. Be sure to contract at a low intensity for 8-10 seconds prior to relaxing fully into the new stretch position for another 8-10 seconds.
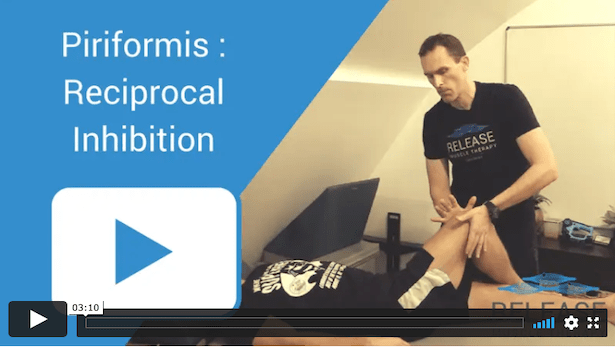
#6 Piriformis Release – Reciprocal Inhibition
Reciprocal inhibition technique is a very powerful release technique for the piriformis and other external hip rotators because the groin (especially on the left!) is often inhibited and needs to be strengthened.
#7 Piriformis Self Massage with Foam Roll
You can also perform self myofascial release by foam rolling the piriformis, using a lacrosse ball, or a softball.
Any of these tools can be effective, and one may be preferred over the other depending on how sensitive the area is. The foam roller provides a soft surface, and the wider contact area makes it the most tolerable tool to start with.
Using a softball or lacrosse ball for piriformis release massage can be quite uncomfortable due to the more weight you will putting into the area per square inch. This will result in an inability to relax fully against the pressure, trigger guarding, and reduce the effectiveness of the therapy.
This is especially important to consider when self release techniques are included with piriformis syndrome treatment. Gentle, progressive techniques may be preferred in order to avoid aggravating the condition.
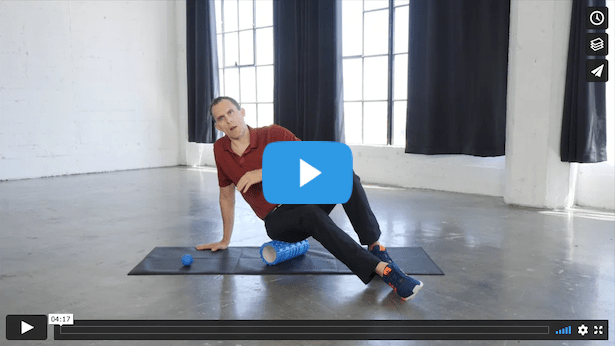
#8 Self Piriformis Stretch – The 90-90
The 90-90 stretch is an excellent self piriformis release and variation of the more advanced stretch listed above.
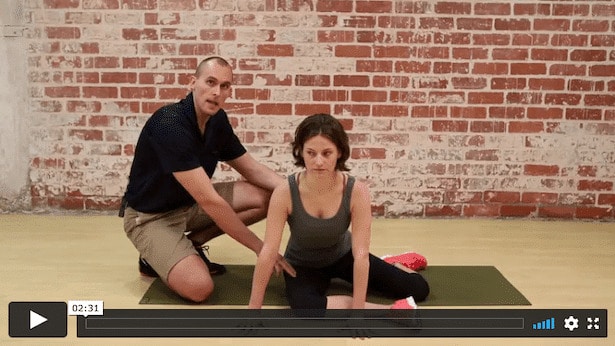
Need help fixing piriformis issues? Click below and lets talk.
The Top 4 Techniques For TFL and IT Band Release
The tensor fascia lata (TFL) is a muscle located on the front of the hip and merges into the iliotibial band (IT band). It is often associated with a variety of movement pattern imbalances and pain in the lower back, pelvis, hips, and knees.
This muscle should be addressed in all of the above issues.

How to know if you need to address the TFL and IT Band:
- Lower back pain
- Sacroiliac joint pain
- Hip pain
- Excess anterior pelvic tilt
- Knee pain
TFL Muscle Anatomy And Function
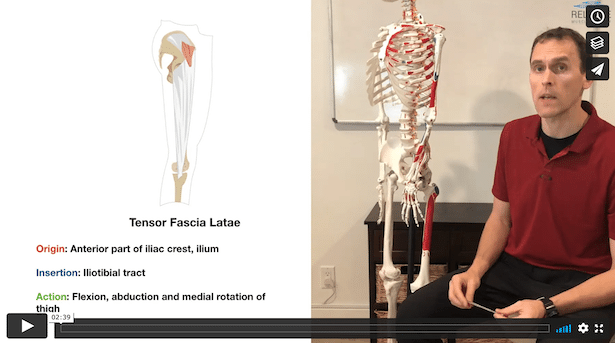
Origin: Anterior part of iliac crest, ilium
Insertion: Iliotibial tract (IT band)
Function/s: Flexion, abduction and medial rotation of the thigh
Functional action: Decelerate external hip rotation, abduction, and extension
Innervation: Superior gluteal nerve, L4, L5, and S1
Most Common IT Band And TFL Questions
How do you release the TFL muscle?
The tensor fascia lata can be released with hands-on massage techniques, self massage techniques (SMFR) such as foam rolling, or with neuromuscular techniques such as muscle energy. In this blog you’ll find demonstration videos for all these options.
What causes tight TFL?
The TFL is a very common compensatory muscle. Its often over-active as an internal hip rotator, especially when the pelvis is positioned in excessive anterior pelvic tilt. When the opposing muscles are weak, this muscle will become dominant and become facilitated. Therefore, a TFL muscle stretch may be warranted.
What does TFL pain feel like?
Pain in the TFL can either be sharp (usually during single leg standing or when lifting your leg in front of you), or a dull ache when walking up or down stairs. If the muscle is short and tight, it can also be a contributor to sacroiliac and/or lower back region pain.
How do you fix overactive TFL?
Reducing the effect of an overactive tensor fascia lata involves two parts:
- Reducing excess muscle tone with TFL release techniques (described later in this article)
- Increasing activity in the muscles that both oppose and synergistically work with the TFL.
While release techniques can provide relatively rapid results including pain relief, exercise work should be the primary focus over the long term. TFL muscles can be effectively stretched as part of a full range of motion exercise strategy as well.
How do you check TFL tightness?
The Ober Test and Thomas Test both reveal reduced range of motion in the hips that is related to TFL and IT band tightness.
Why does the IT band get tight?
Since the IT band is not a contractile tissue, it does not become tight, and thus there is no true IT band release techniques. There are, however, muscles that attach to the band, including the tensor fascia lata (TFL) and the gluteals. In addition, the band lays over a commonly tight muscle, which is the vastus lateralis (a quadricep muscle), which is usually the source of the tenderness which is often felt during IT band massage therapy or foam rolling.
Should you foam roll your IT band?
Foam rolling is a version of IT band self massage, and can be helpful for addressing the muscle that lies beneath the IT band, which is the vastus lateralis. It’s important to understand that releasing the IT band itself is not possible.
TFL Trigger Points
TFL trigger points are routinely found, and can often refer sensation down the lateral aspect of the thigh. This referred sensation location can be familiar to those dealing with pain in this area.
They are often quite tender, and light to moderate pressure is usually all that is necessary to diminish sensitivity.
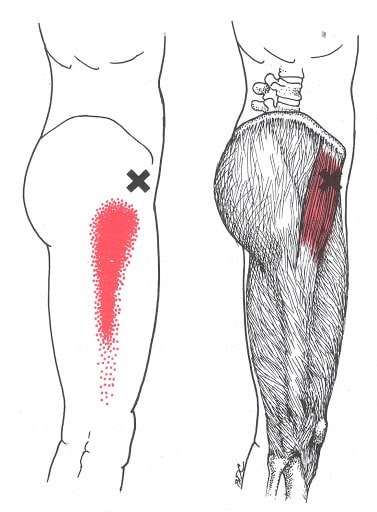
Top Tips For Dealing With TFL + IT Band Pain
-
Avoid crossing legs -
Strengthen all glute muscles to opposite TFL -
Professional or self-massage techniques to reduce TFL over-activity -
Re-training exercises to balance hip musculature and reduce TFL dominance
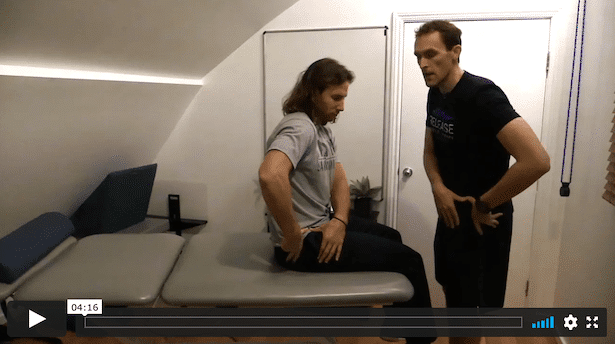
Seated TFL Massage Technique
Addressing the tensor fascia lata muscle in the seated position is an easy way to locate the muscle and get enough leverage to work it.
In this position, the TFL is shortened, which means its not an ideal position to attempt to stretch it, but regardless, it can reduce tissue strain and also allow you to self-treat without too much difficulty.
Word on caution here: Be nice to your thumbs!
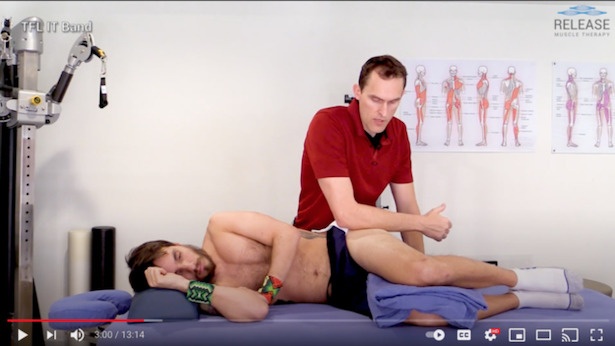
TFL and IT Band Massage
With IT band massage, we are really addressing the lateral quadricep, called the vastus lateralis, which lies under the iliotibial band.
Since the TFL merges into the IT band superiorly, we should address that too in the same massage session.
In the video below, I’ll show you step-by-step how to massage the IT band along with the tensor fascia latae and vastus lateralis.
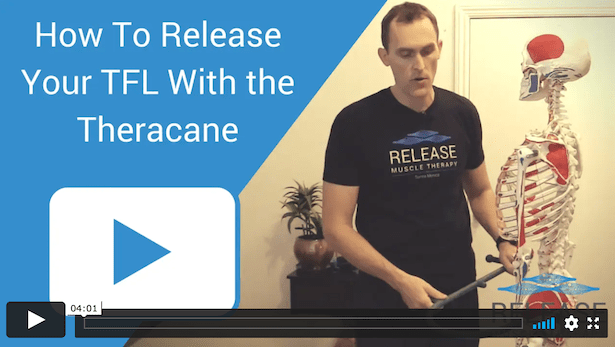
TFL and IT Band Theracane Self-Massage
The Theracane is a great tool for self-treating the TFL in the standing position. The key is proper placement of the tool, as well as shifting your bodyweight to the other leg.
Foam Rolling The TFL And IT Band
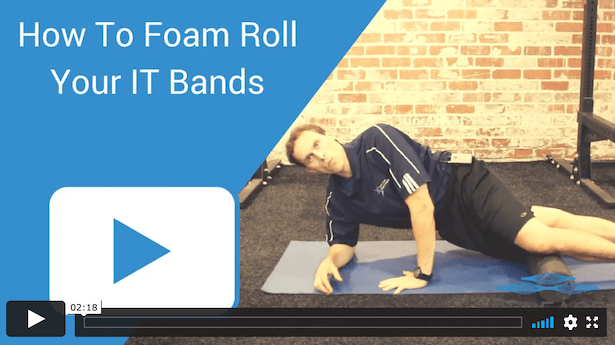
Foam rolling the IT band is a great general technique to address the outside quadricep muscle, the IT band, as well as a small portion of the TFL muscle. Because of where the TFL is located, along with the size of the roller, you won’t be able to sufficiently access most of the muscle. You will need to use a lacrosse ball or select another technique or position to adequately address it.
After foam rolling, I would recommend a tensor fascia lata stretch for further improve the effectiveness of the work.
Tensor fascia lata stretches are essentially the same as some psoas stretch techniques, which some subtle differences found HERE.
Need help fixing TFL and IT band issues? Click below and lets talk.
Top 6 Hamstring Release Techniques
How to know if you may need to address the Hamstring Muscles:
- Posterior pelvic tilt
- Inability to touch toes
- Hamstring strain
- Lower back, hip, or knee pain
- Sacroiliac joint dysfunction
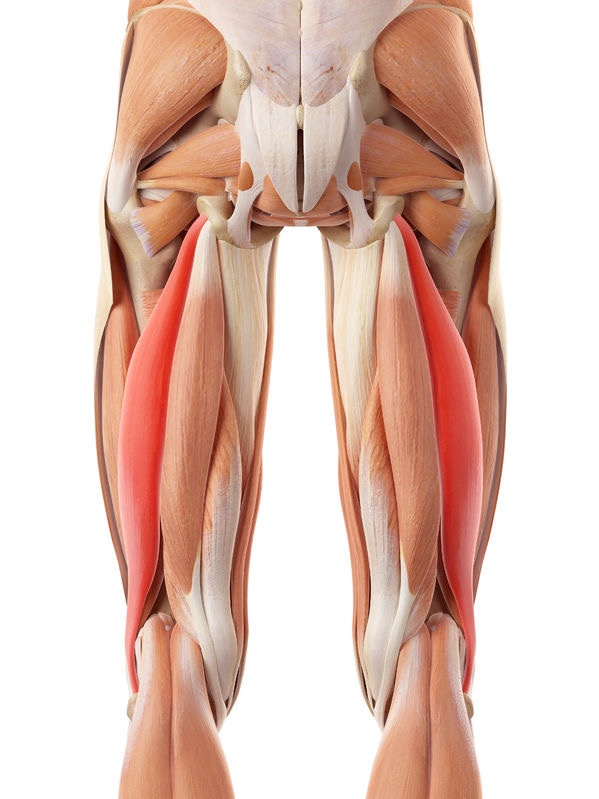
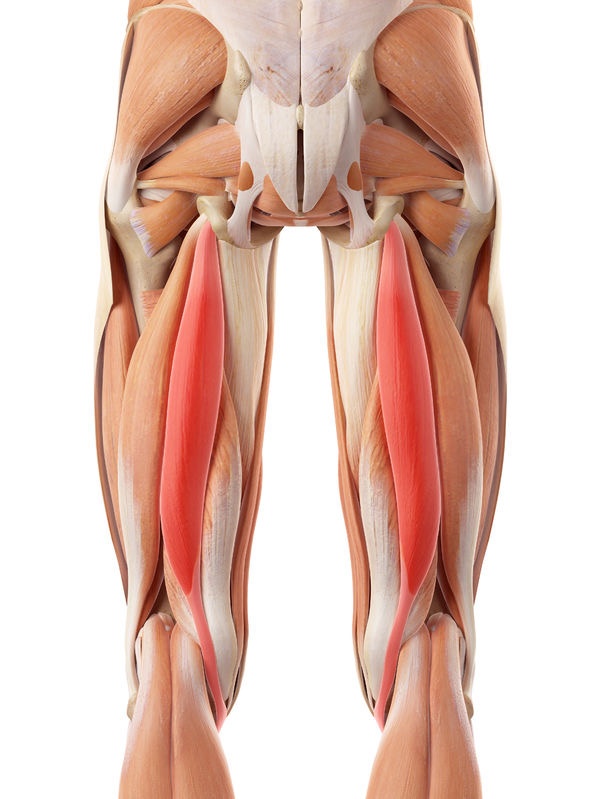
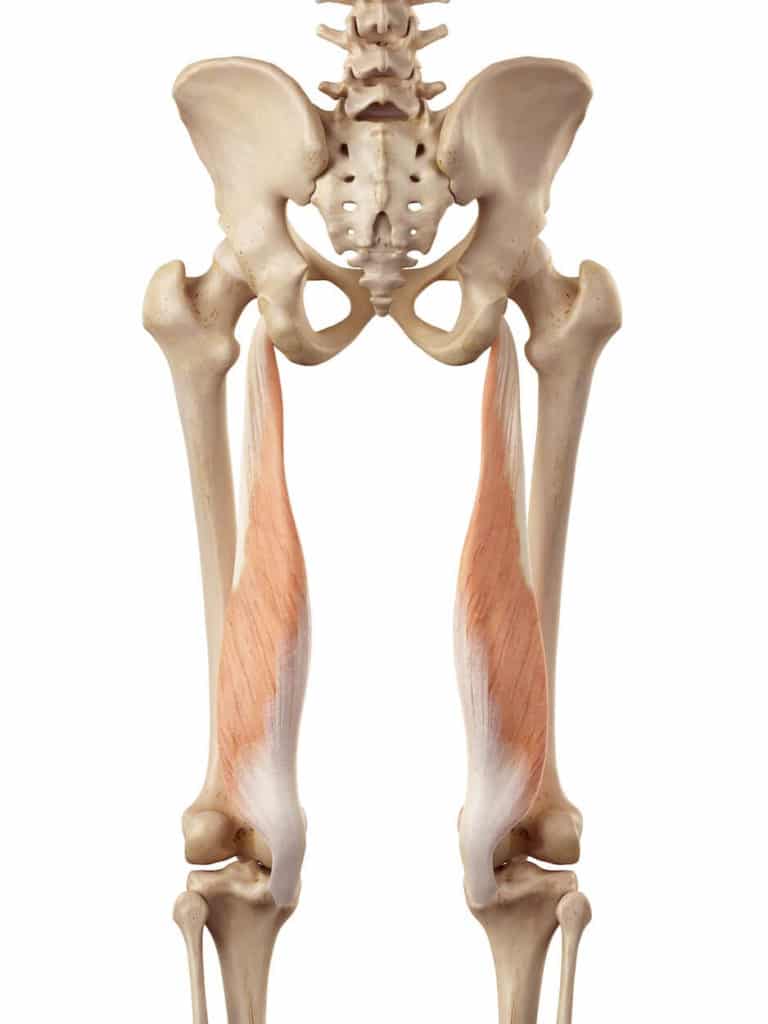
The hamstring muscle group consists of 3 muscles: Biceps Femoris, Semitendinosus, and Semitendinosus.
The most common finding in assessment to determine the need for hamstring stretching is inability to touch the toes, or the presence of posterior pelvic tilt in the standing position.
If these are found to be positive, then these hamstring release techniques may be utilized.
Are Your Hamstrings REALLY Tight?
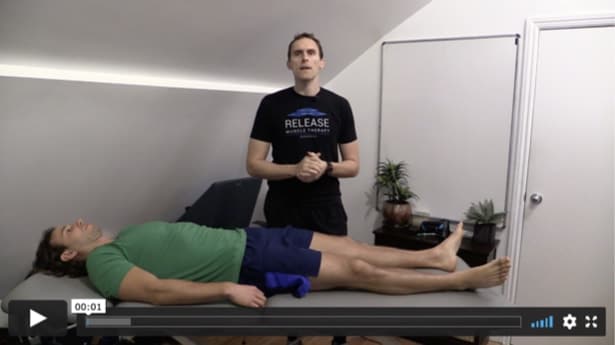
How do you know if your hamstrings are actually tight, or if they just “feel” tight?
It may surprise you to know that hamstring flexibility tests are often misinterpreted. Watch the video to see how to properly assess hamstring length.
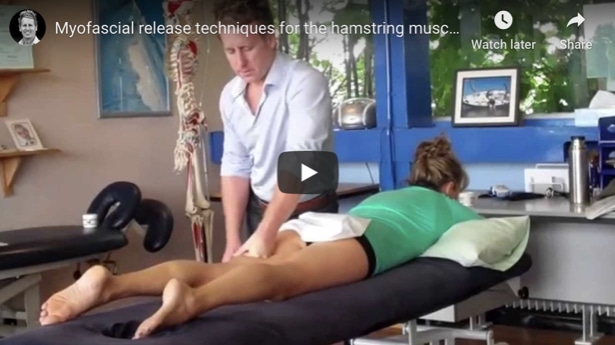
Hamstring Massage Therapy Release Technique
The hamstrings as a whole are fairly easy to treat when using an elbow or fist contact, however, isolating each hamstring can be challenging due to the thick, ropey-type element to the muscles.
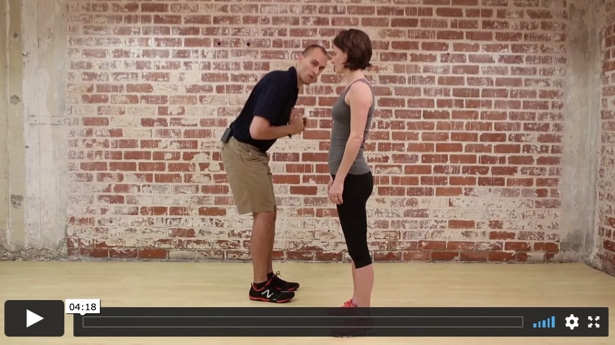
Hamstring Stretch – Waiters Bow
The waiter’s bow stretch is one of best options for stretching the hamstrings because it has the added benefit of teaching how to bend from the hips instead of rounding the lower back.
In addition, this strategy will transfer to movements like deadlifts and traditional back extension exercises.
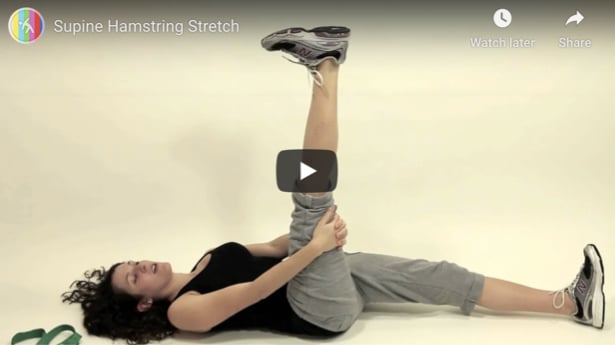
Hamstring Stretch – Supine Hip at 90 Degrees + Knee Extension
The supine hamstring stretch is an excellent option for applying the muscle energy technique called reciprocal inhibition. This technique works by activating the opposite muscle/s of the one you want to stretch. Specifically in this example, you will activate your quadricep muscles to inhibit your hamstrings.
This will allow for a greater stretch through neurological inhibition of the hamstrings!
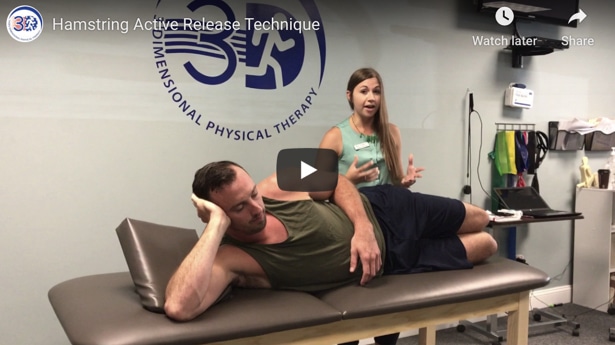
Hamstring Active Release Technique
Active release technique is a proprietary soft tissue therapy technique that can be effective for hamstring work. This video shows a great demonstration.
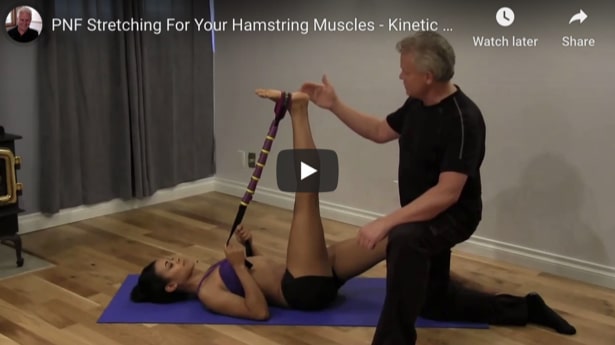
Hamstring Release Techniques – Post Isometric Relaxation (PNF version)
Post-isometric relaxation is another form of muscle energy technique that allows for achieving a greater range of motion than just stretching can accomplish alone.
By moving the hamstrings toward the stretch position, contracting them with a low level effort for 8-10 seconds, followed by a short rest (2-5 seconds), you will be able to move your hamstrings to a greater degree into the stretch.
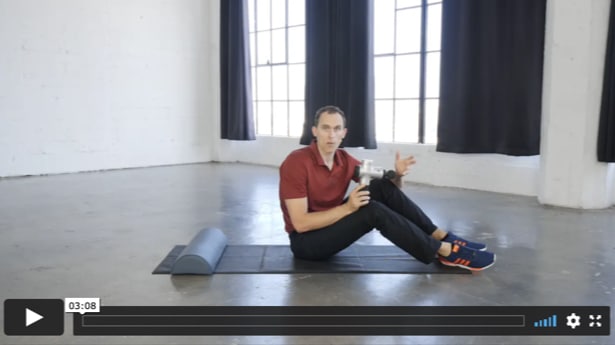
Hamstring Release – Percussion Therapy Tool
Percussion massage tools (<- affiliate link) are becoming more popular and for good reason. They can assist with improving results with massage therapy work, as well as self-myofascial release.
This technique combines reciprocal inhibition of the hamstrings (through quadricep activation) with percussion to the hamstrings to assist with relaxation.
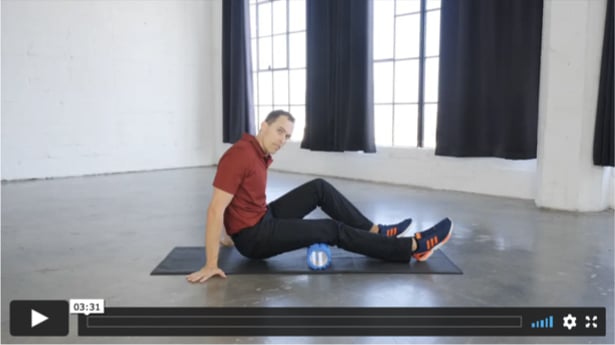
Hamstring Release – Foam Roller Self-Massage
Self-massage for the hamstrings is easily do-able with a standard foam roller. The goal is to roll with a light-moderate level of discomfort that allows you to comfortably work on the tissues.
When you find areas that are particularly tender, hold those points for 10-15 seconds, then move to another area.
Continue this process until you treat the areas that you can access effectively.
Are you in the Los Angeles area and need help with hamstring issues? Click below and lets talk.
Best 4 Pec Minor Release Techniques
Most people are quite familiar with the larger, more superficial chest muscles, called the pectoralis major, however, underneath this muscle is another, called the pec minor. The pec minor release techniques later in this article will be specific to this muscle.
This muscle is very important to address, since it’s responsible for pulling the shoulder blade forward and down onto the ribs. (contributing to the rounded shoulders appearance).
If during an evaluation there is an upper cross syndrome with rounded shoulders and excessive forward head positioning, this muscle should be addressed.
For the most part, in any upper body impairment the pec minor is likely to be strongly involved.
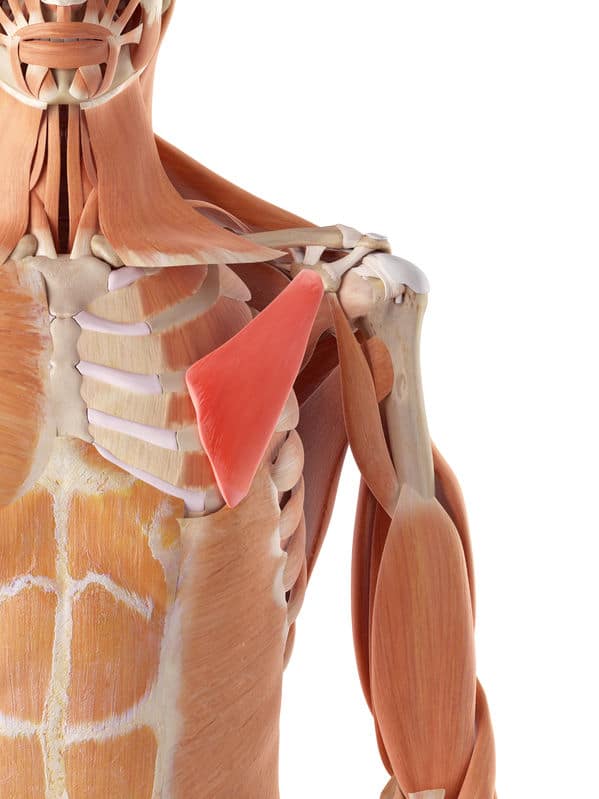
Pec Minor Release w Tennis Ball
The pectoralis minor can be addressed with a tennis ball. This is one of my favorite self pec minor releases. Now, one thing to mention here is that you will NOT be making contact directly with the muscle.
Since the pectoralis major lays over the top, you’ll be influencing the pec minor indirectly with this technique. You will need to play with ball positioning to find the most tender spots.
Pec Minor Release Massage
Addressing the pec minor with massage release techniques can be very powerful and useful. My favorite position for this is side lying, as it allows for gravity assistance in moving the pec major out of the way.
However, some therapists prefer to do this supine (client laying on their back). The preference will ultimately depend on the anatomy of the individual, and the therapist’s ability to feel the muscle.
Pec Minor Stretch
The pec minor can be challenging to stretch due to how deep the muscle is and it’s function.
It’s not uncommon to feel either a stretch OR some discomfort on the front of the shoulder when attempting to stretch the pec minor. Therefore, take your time when setting up this stretch and avoid being too aggressive.
Pec Minor Release – Post Isometric Relaxation
Post-isometric relaxation is very effective for the pec minor muscles.
A therapist is needed for this technique.
Lay on your back with arms down at sides. The therapist will guide the shoulder slightly up away from the nipple as well as down toward the table. You do NOT need to go far with this stretch.
Hold for 8-10 seconds, take a deep breathe in, and exhale as you attempt to relax further into the stretch. Next, while maintaining a light stretch, gently push the shoulder into the hand of the therapist with about a 10-15% percent effort.
Hold for 10 seconds, then take a deep breath and relax fully, allowing the therapist to take up the slack and see if the stretch can be taken a bit further. Repeat 2-3 more times or until no additional range of motion is achieved.
Thanks for checking out my recommended best pec minor release techniques.
As always, no muscle should be seen as the sole contributor to any given problem. No muscle works in isolation.
It’s always best to approach muscular imbalances with a systemic approach to get the best results. That is why I developed my Posture Hacking System.
Related To Pec Minor Release:
Mobility wrap (also known as “Voodoo Floss”) techniques can be extremely helpful as “catch all” therapy to address various issues. I find it extremely helpful for nagging issues such as elbow tweaks and also tendinitis relief.
In this article I’ll show you how to apply the voodoo floss to the elbow. This technique is different from how to wrap an elbow with traditional athletic tape or kinesiotape, and the results are different, so be sure to ask your healthcare provider if it is appropriate for you before trying it!
Step 1: How to start the wrap
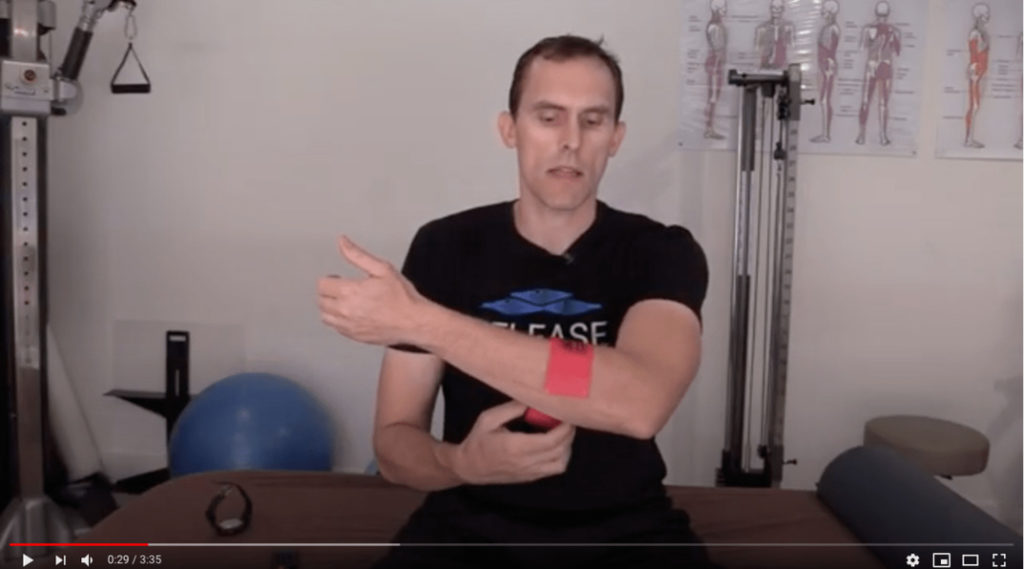
Getting the wrap started is often the toughest part. You want to make sure the first wrap around is tight so that it doesn’t unravel as you get it going.
Place the wrap around your upper forearm, then pin your arm to your stomach to hold it in place as you pull tension in the wrap to cover the loose end.
Step 2: Hold the wrap on your knee to reposition
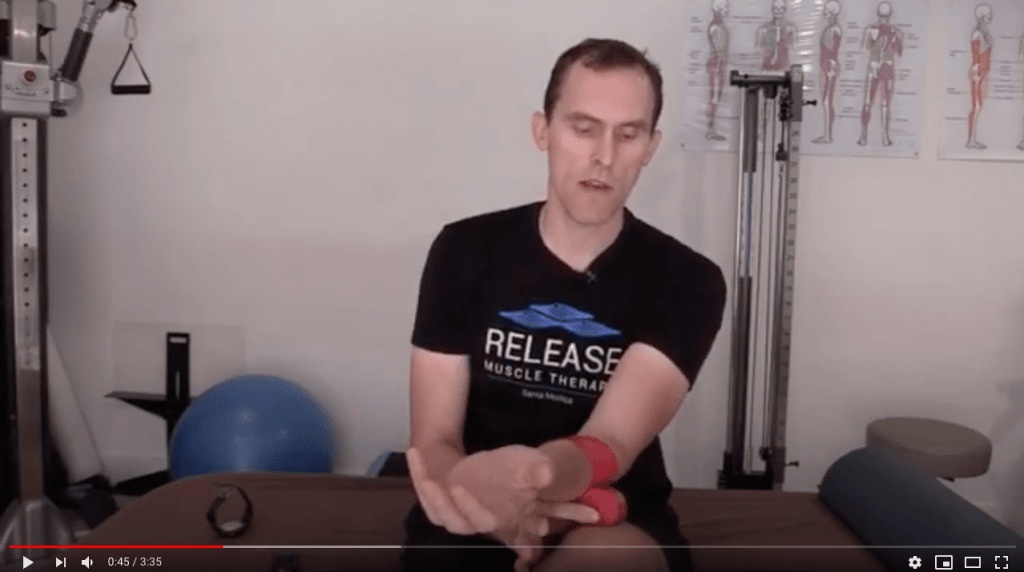
Hold the wrap down on your knee by pressing down with your elbow. Then, you can reposition your hand without the wrap unravelling. (You will do this every time you perform a wrap around in order to maintain the tension).
The goal tension of the tape should be around a 5-6 on a 10 scale in terms of max tension. You should easily be able to keep it on for 90 seconds to 2 minutes max with very little discomfort.
WARNING: Do NOT put too much tension on the band! This does not in any way make it more effective, and may cause injury!
Step 3: Continue wrapping with 50% overlap
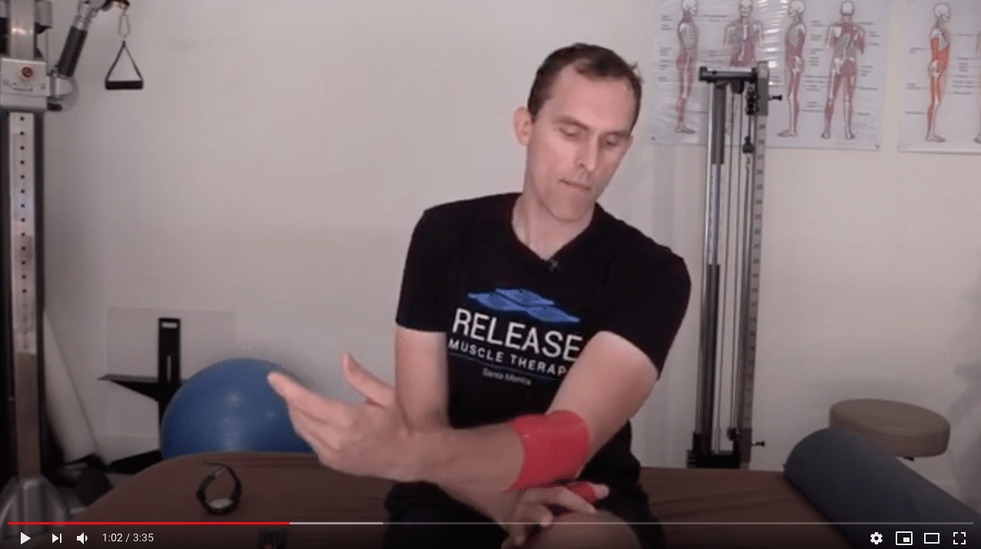
Continue wrapping the tape around the arm moving toward the elbow and over the top with approximately a 50% overlap every round.
Avoid bending the elbow too much when wrapping directly over the elbow, or you’ll lose the quality of the placement.
When you reach the end of the tape, tuck the end into the last 1-3 layers of tape so that it stays put.
Step 4: Move elbow and arm in a variety of positions for 90 seconds
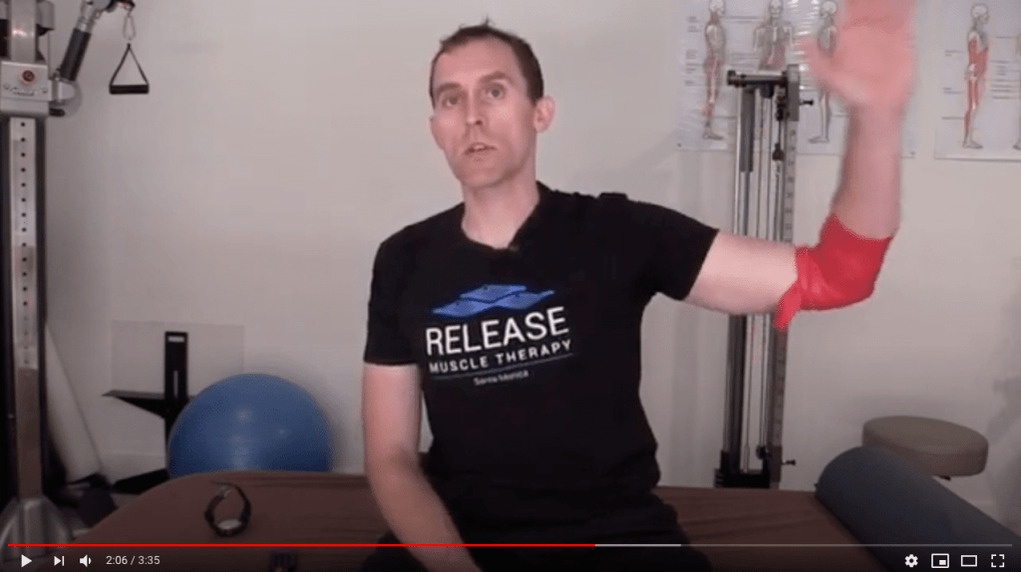
Once the tape is firmly in place, begin moving the elbow and arm around in various positions (remember your biceps and triceps attach to your shoulder so move everything!).
Perform this varied movements for roughly 90 seconds to up to 2 minutes max (depending on how much tension you have on the tape) or if you feel discomfort, take it off sooner.
Step 5: After 90 seconds to 2 minutes, unravel the band and test
After 90 seconds to 2 minutes, unravel the band and move your arm around. Test any previously restricted movements and/or painful ranges of motion.
You should notice improvement ranging from minor to often dramatic!
Voodoo Floss Elbow: How To Release – Demonstration Video
Top 6 Quadricep Release Techniques
The quadricep muscle group contains 4 muscles: vastus lateralis, vastus medialis, rectus femoris, and vastus intermedius.
Excess tension in these muscles can contribute to stress in the knees, hips, and lower back.
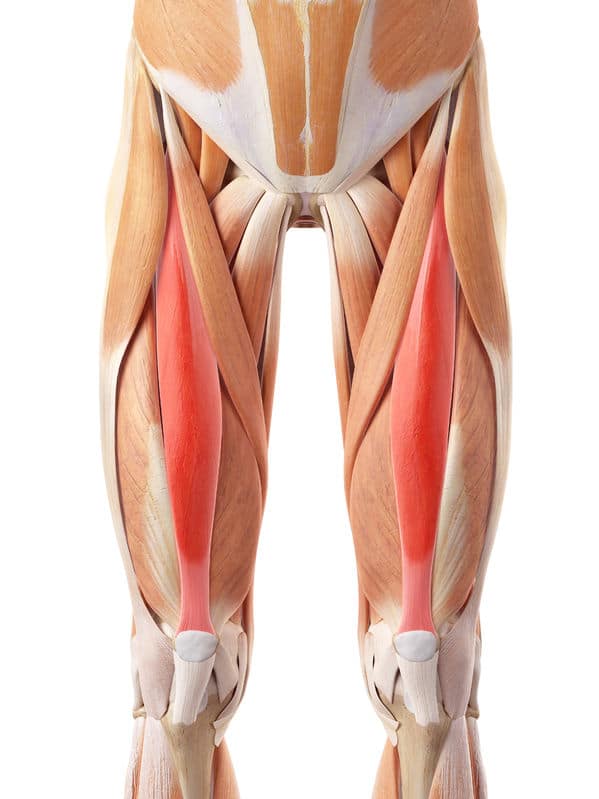
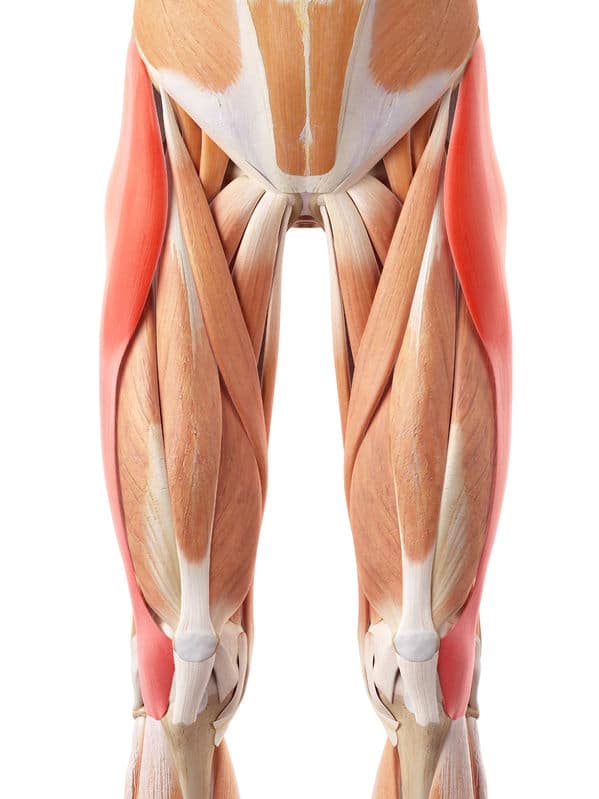
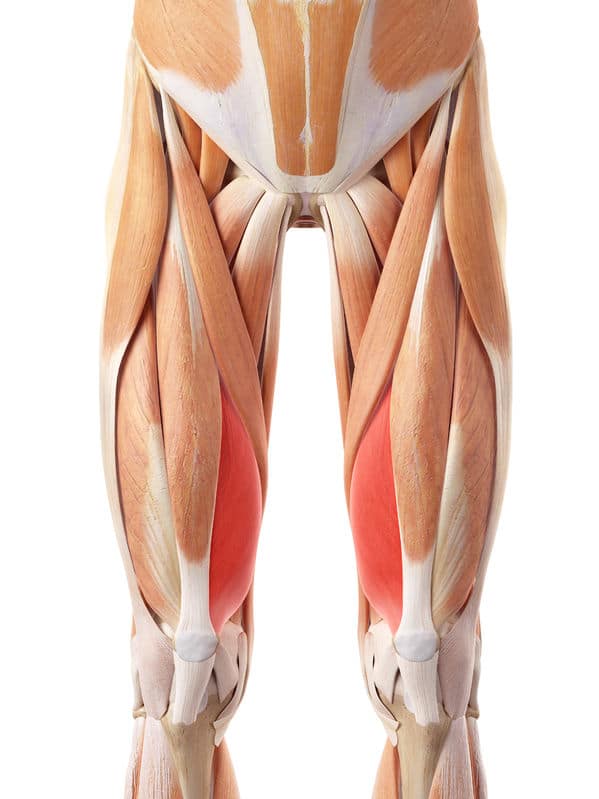
How to know if you may need the following quadricep release techniques:
- Anterior pelvic tilt
- Knee pain
- Patellar tracking issues
- Lower back pain
- Thigh pain
- Hip pain
- IT band syndrome
Are Your Quads REALLY Tight?
So how do you know if your quadriceps are actually tight?
The easiest way to tell is to assess the quads in the same position as we test the hip flexors in, which is called the Thomas Test.
We need to differentiate tightness between the tightness of the rectus femoris (part of the quadriceps that flexes the hip) and the rest of the quadricep muscles.

Quadriceps Release – Massage Therapy
The quadriceps are often quite sensitive to soft-tissue techniques, so massage therapy isn’t my first choice to address tight quads, but pin and stretch techniques (such as Active Release Technique) can help.
The emphasis doesn’t necessarily need to be a high amount of pressure, but rather a moderate sustained pressure for a longer period of time (for example 2 minutes). I always recommend following up with stretching as a home assignment to lock-in the results.
In this video, John Gibbons demonstrates this technique:

Quad Stretch – Standing
The standing quad stretch is probably the most well-known version people use.
The most common error, however, is allowing the pelvis to tip forward excessively (anterior pelvic tilt), thus reducing the tension on the quadriceps. Be sure to maintain a neutral pelvis by squeezing your glutes.

Quad Stretch – Kneeling Hip Flexor Position
The kneeling hip flexor stretch is by far the most versatile quadriceps release stretching technique.
It allows you to maintain your balance and emphasize the pelvic tilt aspect of the stretch. The primary emphasis of this stretch is going to be the rectus femoris.
As the stretch gets easier, the back foot can be elevated slightly to add more tension to the quadriceps.

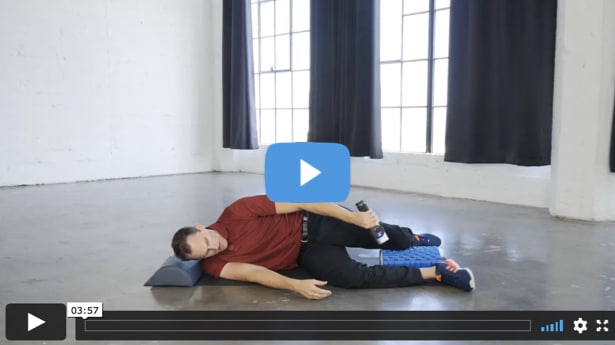
Quadriceps Release – Percussion Therapy Tool
Percussion tools can be useful for releasing tight quadriceps. Generally, most people just use the tool to massage the quads without regard to position, but I prefer to place the muscle under stretch as the percussion is applied.
Watch the video below for details:
Quadriceps Release – Graston-IASTM Therapy Tool
Graston-type IASTM (instrument assisted soft tissue mobilization) tools can be helpful for reducing quadriceps muscle tone and improving range of motion.
Some techniques can be self-applied, but this is a good reason to see a professional therapist.

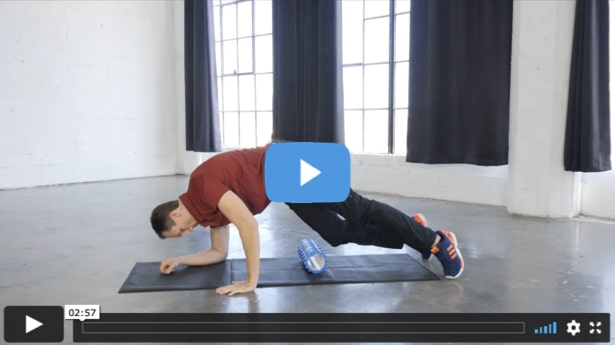
Quadriceps Release Technique – Foam Roller Self-Massage
Self-massage for the quadriceps is easily do-able with a standard foam roller. The goal is to roll with a light-moderate level of discomfort that allows you to comfortably work on the tissues.
When you find areas that are particularly tender, hold those points for 10-15 seconds, then move to another area.
Continue this process until you treat the areas that you can access effectively.
Thanks for checking out these quadricep release techniques. Keep in mind that any techniques presented here need to be applied in the context of an overall corrective strategy aimed at addressing the root cause of the issue, whether that is chronic pain, tension, or reduced performance.
To learn more, see my services page, or my online system, the Posture Hacking System.
Related Muscles to quadricep release techniques:
Are you in the Los Angeles area and need help with calf issues? Click below and lets talk.
The Top Techniques For Back Extensor Release And Strengthening
The back extensor muscle group contains the Longissimus, Iliocostalis, and Spinalis.
If during an assessment excessive anterior pelvic tilt, excessive lumbar spine lordosis, back or sacroiliac joint pain is found, these muscles should be addressed.

How to know if you need to address the Back Extensor Muscles:
- Lower, middle or upper back pain
- Sacroiliac joint pain
- Excess anterior pelvic tilt
Back Extensors – Massage Therapy
The back extensor muscles are easily accessed because they are superficial muscles. They run from the sacrum all the way up to the back of the skull.
Due to the length of the muscles, its easiest to treat them in smaller chunks. Elbow glides are most commonly used by massage therapists, but after the warm up, thumb-based techniques can address the spinal extensor muscles with more precision.

Back Extensors Release – Knees to Chest Stretch
Since most people do not feel a stretch in thoracic region of the extensors (due to excess rounding of the back called kyphosis), we focus on lengthening the erectors of the lumbar spine.
The knees to chest stretch is a simple way to accomplish this goal, but don’t worry if you do not feel a stretch. Not everyone does!

Back Extensor Release – Cat Stretch
The Cat stretch works very well for lengthening the spinal extensors, but the emphasis needs to be on pelvic tilting to affect the lower aspect of the muscles.
Its important to note that the lumbar spine doesn’t flex very far, so only a little pelvic tilting is necessary. Its not uncommon for some people to feel slight discomfort at the L-5/S-1 level, so only go as far as comfortable.

Back Extensor Release – Post Isometric Relaxation
Post-isometric relaxation works very well for the back extensor muscles.
Correct positioning over the end of the table is essential during this one, and if any discomfort is felt in the lower lumbar spine, reduce intensity and/or consult with your physician for guidance.
Be sure to contract at a low intensity for 8-10 seconds prior to relaxing fully into the new stretch position for another 8-10 seconds.

Back Extensor Release – Side Bend Stretch Over Ball
The side bend stretch over a swiss ball, when correctly positioned, is a great way to lengthen the spinal extensors.

Back Extensor Strengthening
Prone Extension
- Start lying face down with your arms at your sids, palms facing the floor, and feet together.
- Squeeze glutes, lift your chest up as high as comfortable while keeping your chin tucked and head retracted.
- Lift and externally rotate your arms for a full shoulder blade squeeze.
- Hold for the desired amount of time, then lower back to the starting position.

Opposite Arm – Leg Raise
- Start on your hands and knees. Wrists under shoulders and knees under hips.
- Find neutral pelvic position, lift chest, and tuck chin.
- Lift your hand and opposite knee just high enough to slide a magazine under while maintaining your alignment.
- Maintain normal breathing.
- Hold for the desired amount of time, then return to the starting position.

Kneeling Hip Extension
- Start in a kneeling position on a soft pad or mat.
- Place your hands across your chest and arch your lower back slightly.
- Shift your weight back as you tip from your hips until you reach a comfortable depth or until you start to lose ability to hold your lower back arch.
- Pause for the recommended duration, then reverse the motion back to the starting position.
- Repeat for the desired number of repetitions.

Need help fixing back issues? Click below and lets talk.
Top 6 Calves Release Techniques
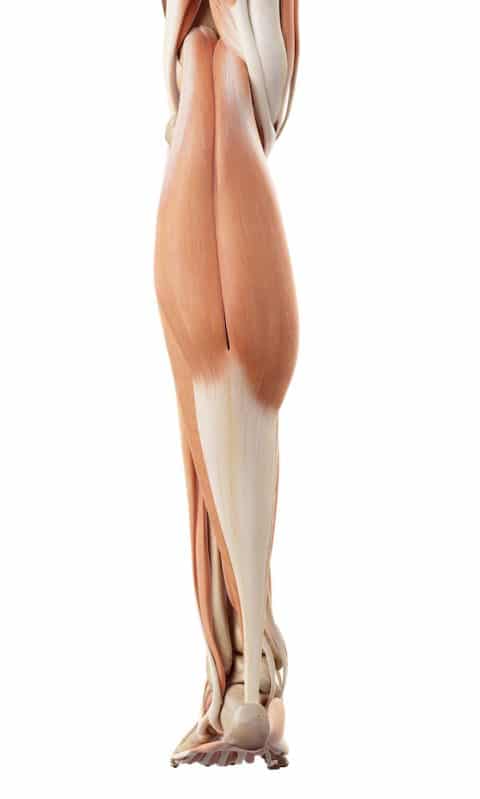
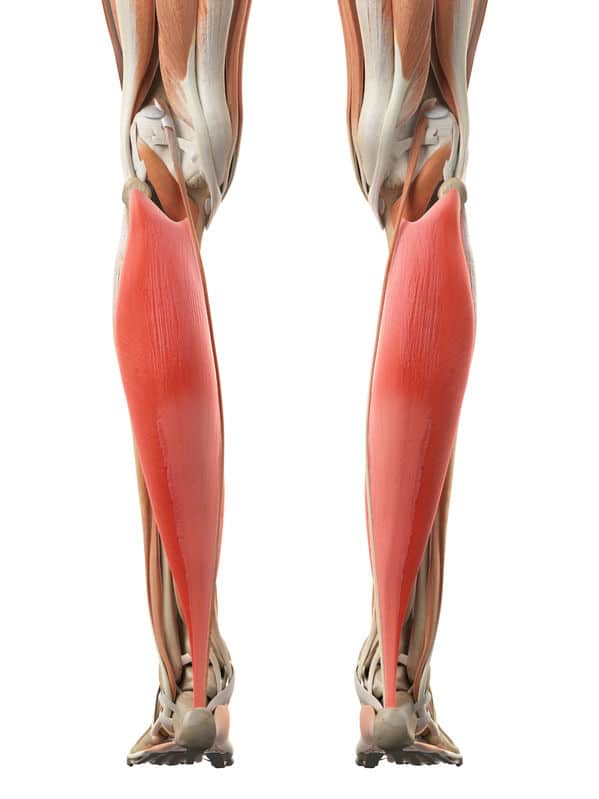
The calf muscle group involves 2 primary muscles: the gastrocnemius and the soleus. Both of these muscle merge into the achilles tendon.
The most common reasons for working on the calves include plantar fasciitis pain, and the inability to achieve optimal depth in the squat.
Are Your Calves REALLY Tight?
How do you know if your calves are actually tight?
They can be tested with a goniometer passively (with a therapist), or actively with a knee reach test. Both of these tests can also include testing ankle mobility.
Watch the video below to learn more about calf flexibility testing.
Calves Release – Massage Therapy
The calves are generally very responsive to massage therapy work, but can often be very tender. They appear to respond well to medium pressure and many repetitions. Over time, as tolerance improves, the pressure can be progressively increased.
Calves Stretch – Standing – Gastrocnemius Version
The standing calf stretch is the most common way to improve calf flexibility. In particular, this standing version emphasizes the more superficial calf muscle, called the gastrocnemius, because the knee is straight.
It’s a common error for the heel to rise during this stretch, which can make it difficult to access the muscle, so always make sure to follow the steps to maximize the stretch.
Calves Stretch – Standing – Soleus Version
The standing calf stretch can not only target the larger gastrocnemius, but also the deeper soleus muscle.
The difference between these stretches is simple: In order to access the soleus, the knee must be bent. Many people find it difficult to really feel the soleus muscle stretching, usually feeling more ankle restriction than stretch.
If this is the case, you may find the kneeling ankle mobilization to be more useful.
Calves Release – Percussion Therapy Tool
Percussion tools can be helpful for freeing up tight calf muscles. The easiest position in which to apply this technique is the half-kneeling.
This is additionally a good way to improve ankle mobility and squat depth.
Calves Release – Graston-IASTM Therapy Tool
Graston-type IASTM (instrument assisted soft tissue mobilization) tools can be helpful for improving calf flexibility and improving recovery.
These tools are mostly used by professional therapists, but the techniques can be safely implemented at home.
Calves Release Technique – Foam Roller Self-Massage
Self-massage for the calves is easily do-able with a standard foam roller. The goal is to roll with a light-moderate level of discomfort that allows you to comfortably work on the tissues.
When you find areas that are particularly tender, hold those points for 10-15 seconds, then move to another area.
Continue this process until you treat the areas that you can access effectively.
Related Muscles To Calves Release Techniques:
Are you in the Los Angeles area and need help with calf issues? Click below and lets talk.
Power and flexibility often go hand in hand.
To maximize pectoral muscle strength techniques, it’s important to have the right level of mobility. Not only will this help you perfect new techniques, but it’s also going to help stave off injuries.
When it comes to strengthening the pectorals, these six pec stretch release techniques can unlock even more potential.
What Is Pectoral Muscle Release?
The pectoral muscle group consists of 2 muscles: the pec major and the pec minor.
These muscles can often become tight, leading to excessively rounded shoulders, shoulder or neck pain, and breathing imbalance. Pec stretch release techniques can help alleviate these pains, restoring greater mobility and allowing the patient to focus on their pectoral muscle strength technique.
As well as helping with shoulder and neck problems, the pec stretch release techniques shown below can be effective for improving many issues.

When Might You Need Pectoral Muscle Release (Pec Major and Pec Minor):
Your pecs are important muscles in your body, so it’s important to maintain flexibility in this area, particularly if you’re working on pectoral muscle strength techniques.
However, there are some tell-tale signs that you might need pectoral muscle release:
- Shoulder pain
- Rounded shoulders
- Neck pain
- Referred pain down the arms
- Imbalanced breathing or rib cage patterns
Movement is an important part of recovery, and in these cases, the right pec stretches can help alleviate pain and return mobility to the affected area.
Pec Muscle Release – Massage Therapy
The pectoralis major is the most superficial and easy to access chest muscle. It starts at the sternum and inserts into the upper arm. There are a variety of glides that can be used as demonstrated in the video, and even simple compression of the muscle can be used to assist with reducing tender areas.
The pectoralis minor, however, is a bit more challenging to access because it lies underneath the larger pec fibers. It needs to be treated from the side, or side-lying position.
With treatment from an experienced professional and the right stretching routine, it is possible to release the pectorals, allowing people to get back to the workouts they love.
6 Pec Stretch Release Techniques
Stretching out the pecs is an important part of working on your pectoral muscle strength technique. The more mobility you have in this area, the better quality workouts you can do, leading to more effective and healthy muscle growth.
Pec Major Stretch – Standing Wall Stretch
One of the easiest and most familiar ways to get a pectoralis major stretch is with a doorway stretch. Place your arm so that your elbow is slightly higher than your shoulder and step forward a bit while simultaneously turning your body away from the arm.
One thing to note, if the anterior shoulder capsule is sensitive for any number of reasons (underlying shoulder pathology) you may feel discomfort instead of the intended effect which is to stretch pectoralis major. In this case you may need to opt for a self-massage style technique, or seek additional help to address the shoulder issue prior to doing these stretches.
Pec Stretch – Swiss Ball Stretch
The swiss ball pectoral stretch is a good alternative to the doorway stretch, especially if you have a hard time getting a good stretch.
Make sure you use a ball that is large enough, and that you allow your shoulder blades to move toward each other to simulate stepping forward through the doorway as discussed in the previous stretch.
Pec Muscle Release – Post Isometric Relaxation
Post-isometric relaxation works well for the pectoral muscles.
This is accomplished by moving toward the end of a massage table (or bench) and allow your arm to hang as if you were doing a stretch with gravity assistance. If you are doing this by yourself, lift up your arm (using your chest muscles) just enough to activate the muscle.
Hold for 8-10 seconds, take a deep breathe in, and exhale as you attempt to relax further into the stretch. Hold for 10 seconds, then repeat 2-3 more times or until no additional range of motion is achieved.
Pec Minor Release – Massage Therapy
Massage therapy works very well for the pec minor muscle.
Correct positioning as well and low-moderate pressure is ideal for addressing this muscle. You don’t need to push too hard! In addition, it’s important to be cautious of nerves in the area of the pec minor.
Pec Major/Minor Muscle Release – Self Massage w Ball
Self-massage for the pectoral muscles is possible with the use of a tennis or lacrosse ball. Place the ball into the desired area and lean into a wall or doorway.
You may wish to move your arm slightly back behind your body to lengthen the pectorals as you compress the tissues with the ball. You can move your body to scroll through the tissues, and isolate any areas that are particularly tender. Hold those points for 10-15 seconds, then move to another area.
Continue this process until you treat the areas that you can access effectively.
Conclusion
Stretching should be an essential part of your pectoral muscle strength technique. If you’re suffering from pain in your neck and shoulders, then it’s going to hold back your workout, and it could be due to your pectorals.
With the right treatment, and some pec release techniques, you can alleviate pain and make your workouts even more effective.
Mobility is key and pectoral muscle release could be exactly what you need.
Are you in the Temecula CA area and need help fixing shoulder issues or need pec stretch release techniques? Click below and lets talk.
The Top 3 Techniques For Quadratus Lumborum Release
The quadratus lumborum muscle (QL) is located in the lower back on both sides of the spine. Due to its attachments and actions on the spine, the QL is often associated with conditions of lower back, pelvis, and hip pain.
If during pelvic assessment a hip-hike and/or excessive anterior pelvic tilt is found, then targeted quadratus lumborum release techniques can be applied.
Due to the overlapping actions of the QL muscle with the spinal extensor muscles, they should all be addressed together for optimal results.


How to know if you need QL muscle release:
- Lower back pain
- Sacroiliac joint pain
- Hip pain
- Excess anterior pelvic tilt
- Short leg
QL Muscle Massage Therapy
The QL muscle is fairly deep but can be accessed just to the side of the long spinal erectors. Due to all the attachments on the ribs, pelvis, and spine, its important to perform QL massage glides in upward and downward strokes, as well as compress the attachment points directly to cover the muscle thoroughly.
An important note when performing massage in this area is to be mindful of the 12th rib, which is known as a “floating rib” and may be injured as a result of excessive force. Never press directly into it with an elbow!
After massage therapy, its recommended to add a frequent QL muscle stretch in order to get the work to “stick”.
Quadratus Lumborum Release – Post Isometric Relaxation Technique
The QL is a side a side-bending and hip-hiking muscle. Post isometric relaxation technique can be done in the side-lying position with light resistance applied to the top of the hip or pelvis.
Since this position can feel slightly threatening to someone experiencing lower back pain or discomfort, it’s advised to only move slightly into the position of stretch, just up to the point where the person feels comfortable.
Once the position is attained, as mentioned in the video, only a 5-10% effort should be exerted by the QL muscle while breathing in. As the exhale and relaxation occurs, only take the stretch again to a point of comfort and repeat.
QL Self Massage Release – Theracane
The Theracane is a great tool for quadratus lumborum self massage and for reaching other back muscles. The knob on the curved end is perfect for reaching trigger points in this area.
When performing this technique, just like any other QL release, avoid using excessive pressure. I only recommend using 5/10 intensity, which means about 50% of a pressure you can tolerate maximally. You should be able to comfortably hold the pressure without holding your breath or having your arms fatigue for up to 30 seconds.
Be especially careful about NOT compressing the 12th rib!
Quadratus Lumborum – Side Stretch Over Ball
A quadratus lumborum stretch can be attained by laying over a swiss ball. When in this position, deep breathing is essential to influence the muscle due to its lower rib attachments. Additionally, since the muscle fibers go in slightly different angles, it’s best to move your upper body slightly forward, backward, and also position your body more or less over the ball to address all the possible fibers you can get to.
The quadratus lumborum is an important muscle to address in a multitude of issues involving the lower back, pelvis and hips, but it’s also important to keep in mind it should always be addressed in the context of an overall therapeutic program. Quadratus lumborum release should not be the sole focus!
No muscle works by itself, and frequently, muscles that appear short, tight and even painful may simply be compensating for another muscle/group that may in fact be the actual underlying problem.